Build and deploy custom app on Kubernetes (k8s)
Series of hands-on Kubernetes tutorials to make your app highly-available and scalable.


Photo by Juanjo Jaramillo on Unsplash
This is the second post in the series of posts related to Kubernetes. If you have not read the previous posts in this series, I highly encourage you to read them. This post is hands-on tutorial to build a very basic custom NodeJS app, containerize it using Docker and then finally serve it using Kubernetes.
Later posts in this series will also be hands-on tutorials that will cover details on other aspects of Kubernetes like setting up of cluster, scaling deployments, defining services, using YAML files to get things done etc.
In this tutorial, I will continue from where I left in previous post. I will cover below topics in this post:
Start the single node Kubernetes cluster using
minikube.Create a custom NodeJS web app that we will deploy on Kubernetes single node cluster.
Validate that app is running, try accessing the app from within cluster node, just to make sense of how the deployment works on Kubernetes.
For this tutorial, I will use minikube, a single node (computer) version of Kubernetes. Minikube is good for learning and local development purpose, but definitely not an option for production usage. Before we start, I assume you know how to install minikube. If not, then please refer website of minikube for detailed instructions. To make minikube work, you will also need to install either container runtime engine (like Docker, Parallels etc.) or hypervisor (like KVM, Hyper-V etc.) or virtual machine software (like VirtualBox, VMware etc.). In addition to all this, you also need to install kubectl, a command line tool to connect to Kubernetes cluster from outside and perform different operation on it. Refer the instructions to install kubectl command line tool.
Start the Kubernetes (k8s) cluster
Once you have minikube installed on your local machine, you can run Kubernetes single node cluster on your machine by running below command.
minikube start
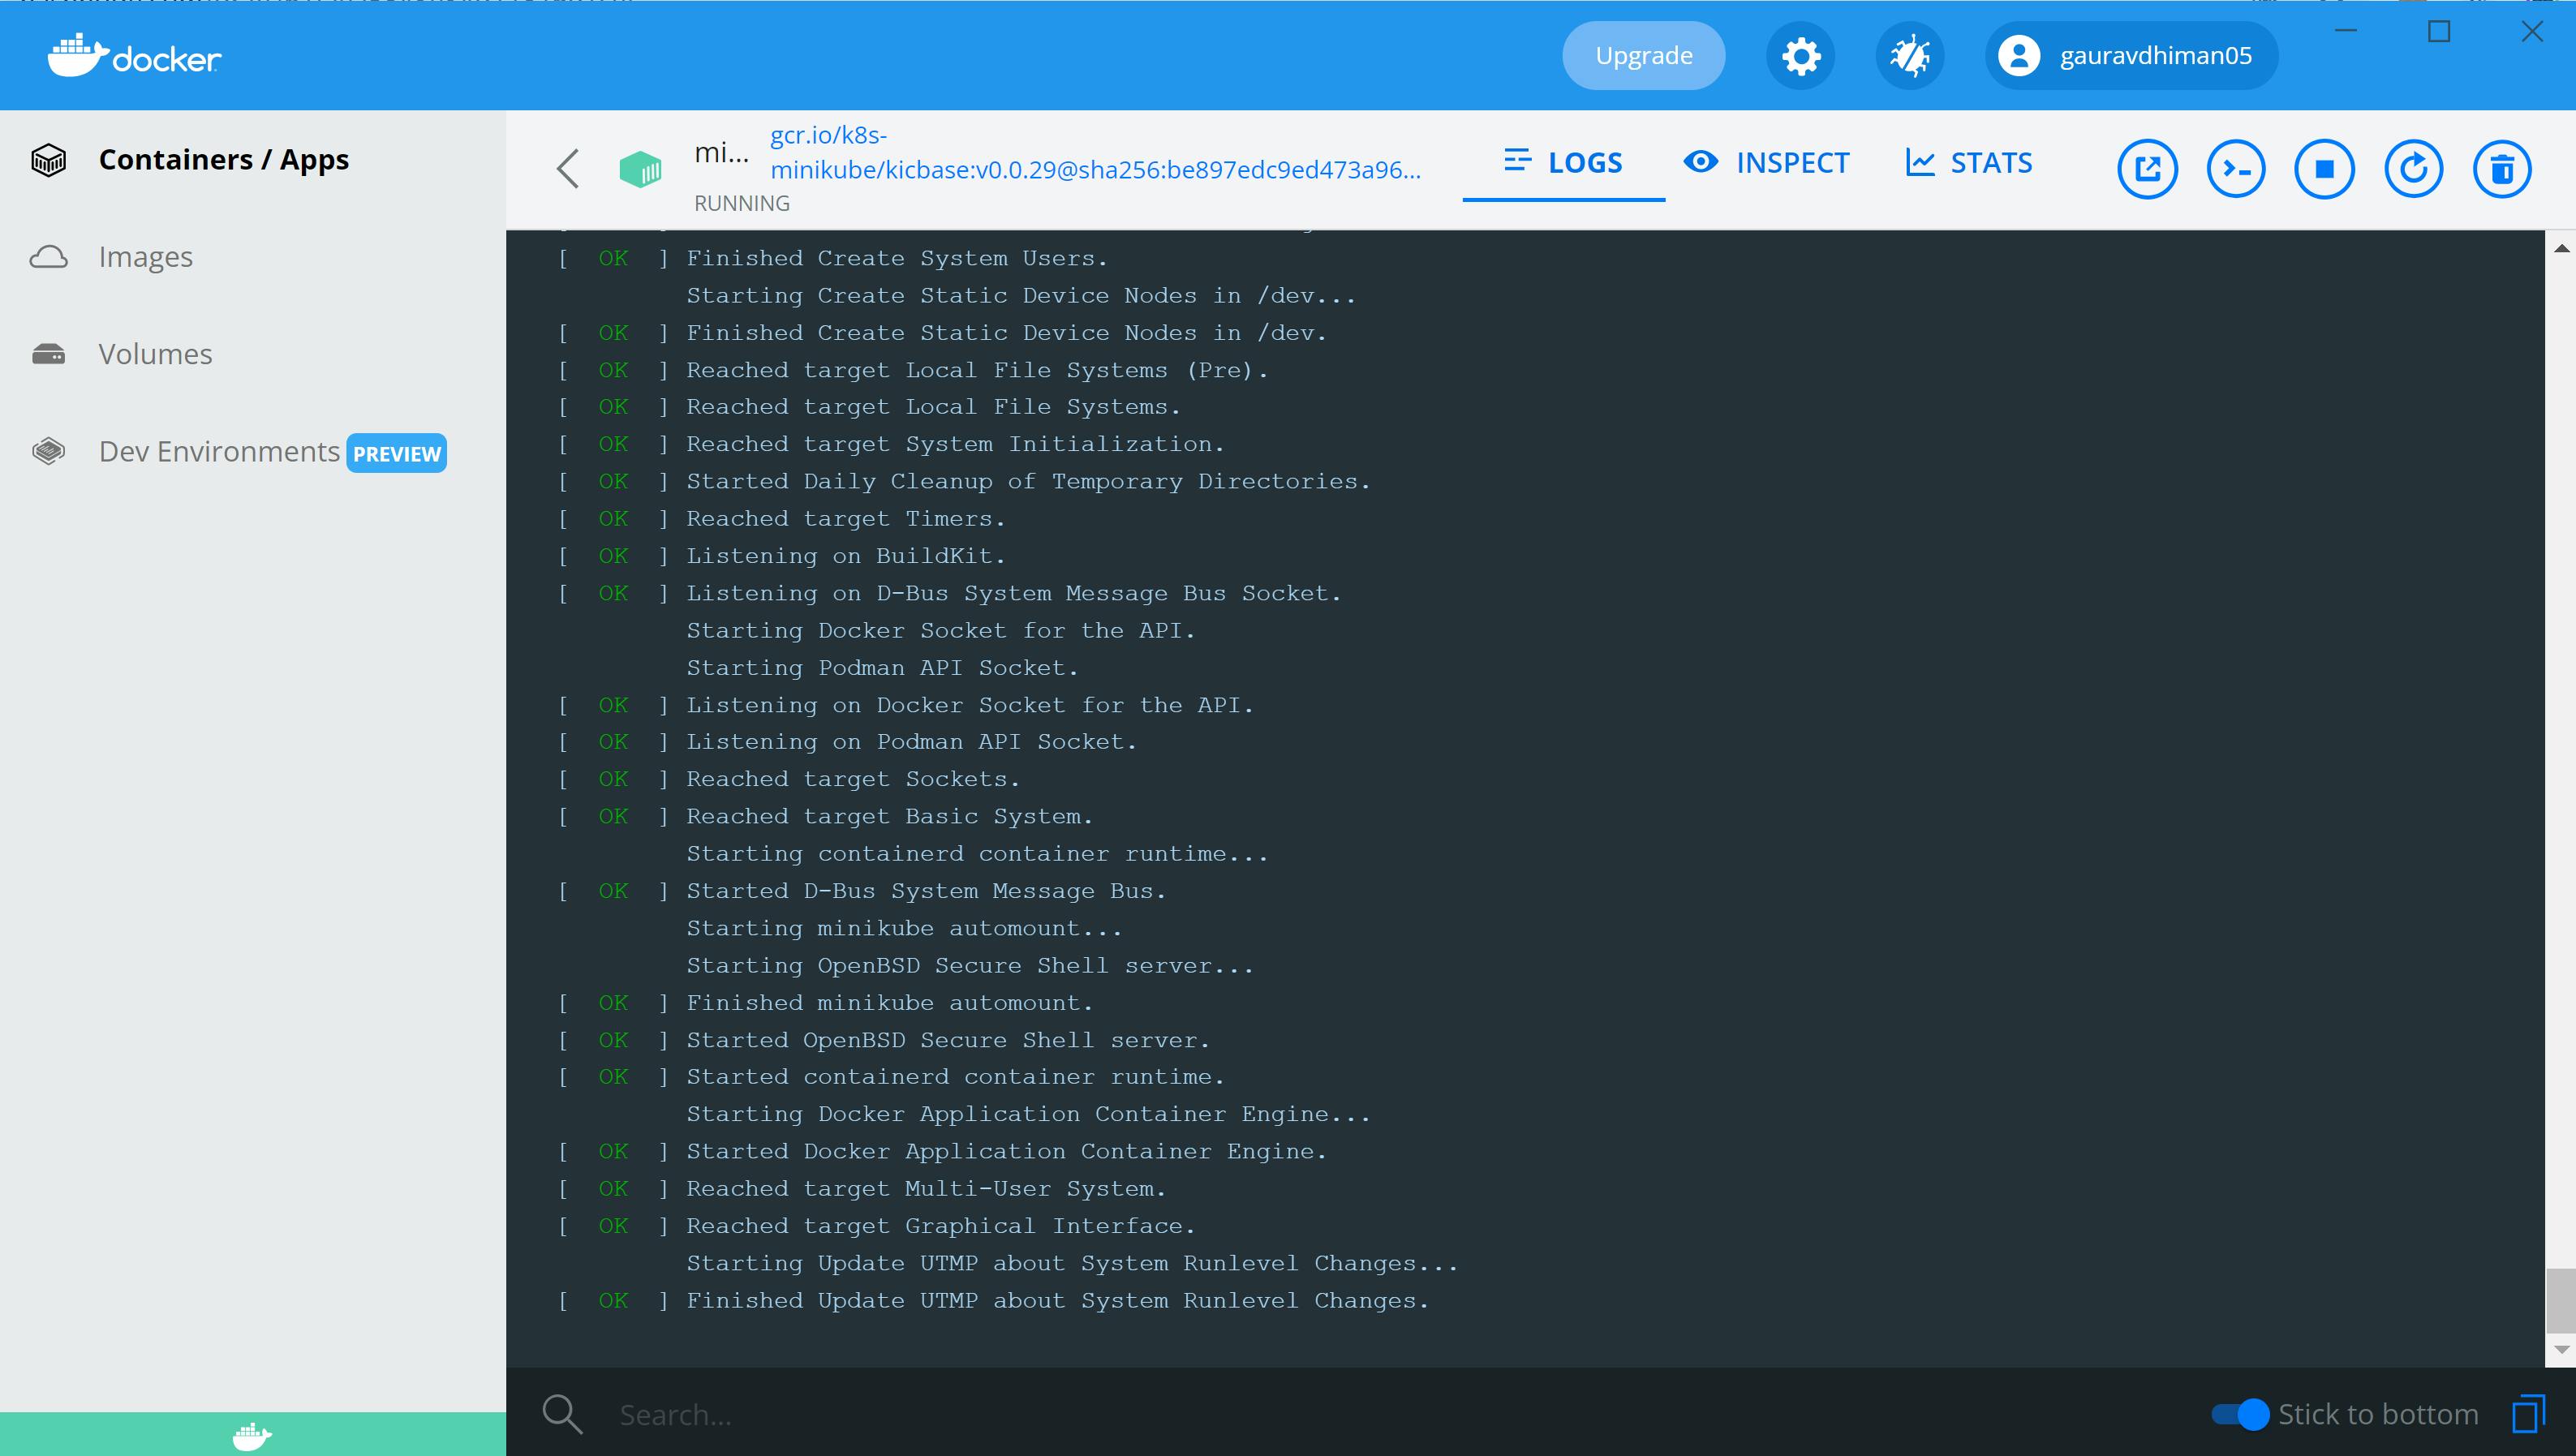
This will auto detect the container runtime engine or VM runtime to determine where the Kubernetes single node cluster should be created. Let's say, it detects that your machine does not have any VM runtime but have Docker (one of the popular container runtime engine) installed, in that case, it will download the k8s-minikube docker image from Google Container Registry and from that image it will create and run the docker container on your local machine. I ran it on my Windows machine (using Administrative privileges on PowerShell) and below is the output of minikube start command.
PS C:\WINDOWS\system32> minikube start
* minikube v1.25.1 on Microsoft Windows 10 Pro 10.0.19043 Build 19043
* Automatically selected the docker driver. Other choices: hyperv, ssh
* Starting control plane node minikube in cluster minikube
* Pulling base image ...
* Creating docker container (CPUs=2, Memory=4000MB) ...
* Preparing Kubernetes v1.23.1 on Docker 20.10.12 ...
  - kubelet.housekeeping-interval=5m
  - Generating certificates and keys ...
  - Booting up control plane ...
  - Configuring RBAC rules ...
* Verifying Kubernetes components...
  - Using image gcr.io/k8s-minikube/storage-provisioner:v5
* Enabled addons: storage-provisioner, default-storageclass
* Done! kubectl is now configured to use "minikube" cluster and "default" namespace by default
PS C:\WINDOWS\system32>
If you observe in above message, there is a line Automatically selected the docker driver. Other choices: hyperv, ssh. That line tells that minikube identified Docker container runtime engine on my Windows machine and used the k8s-minikube image to start the container as single node of Kubernetes.
That docker container will serve as a node (act as master as well as worker node), managed by your Kubernetes cluster. After cluster starts, if you look into your docker desktop application, you will be able to see the container details that is running as Kubernetes node.
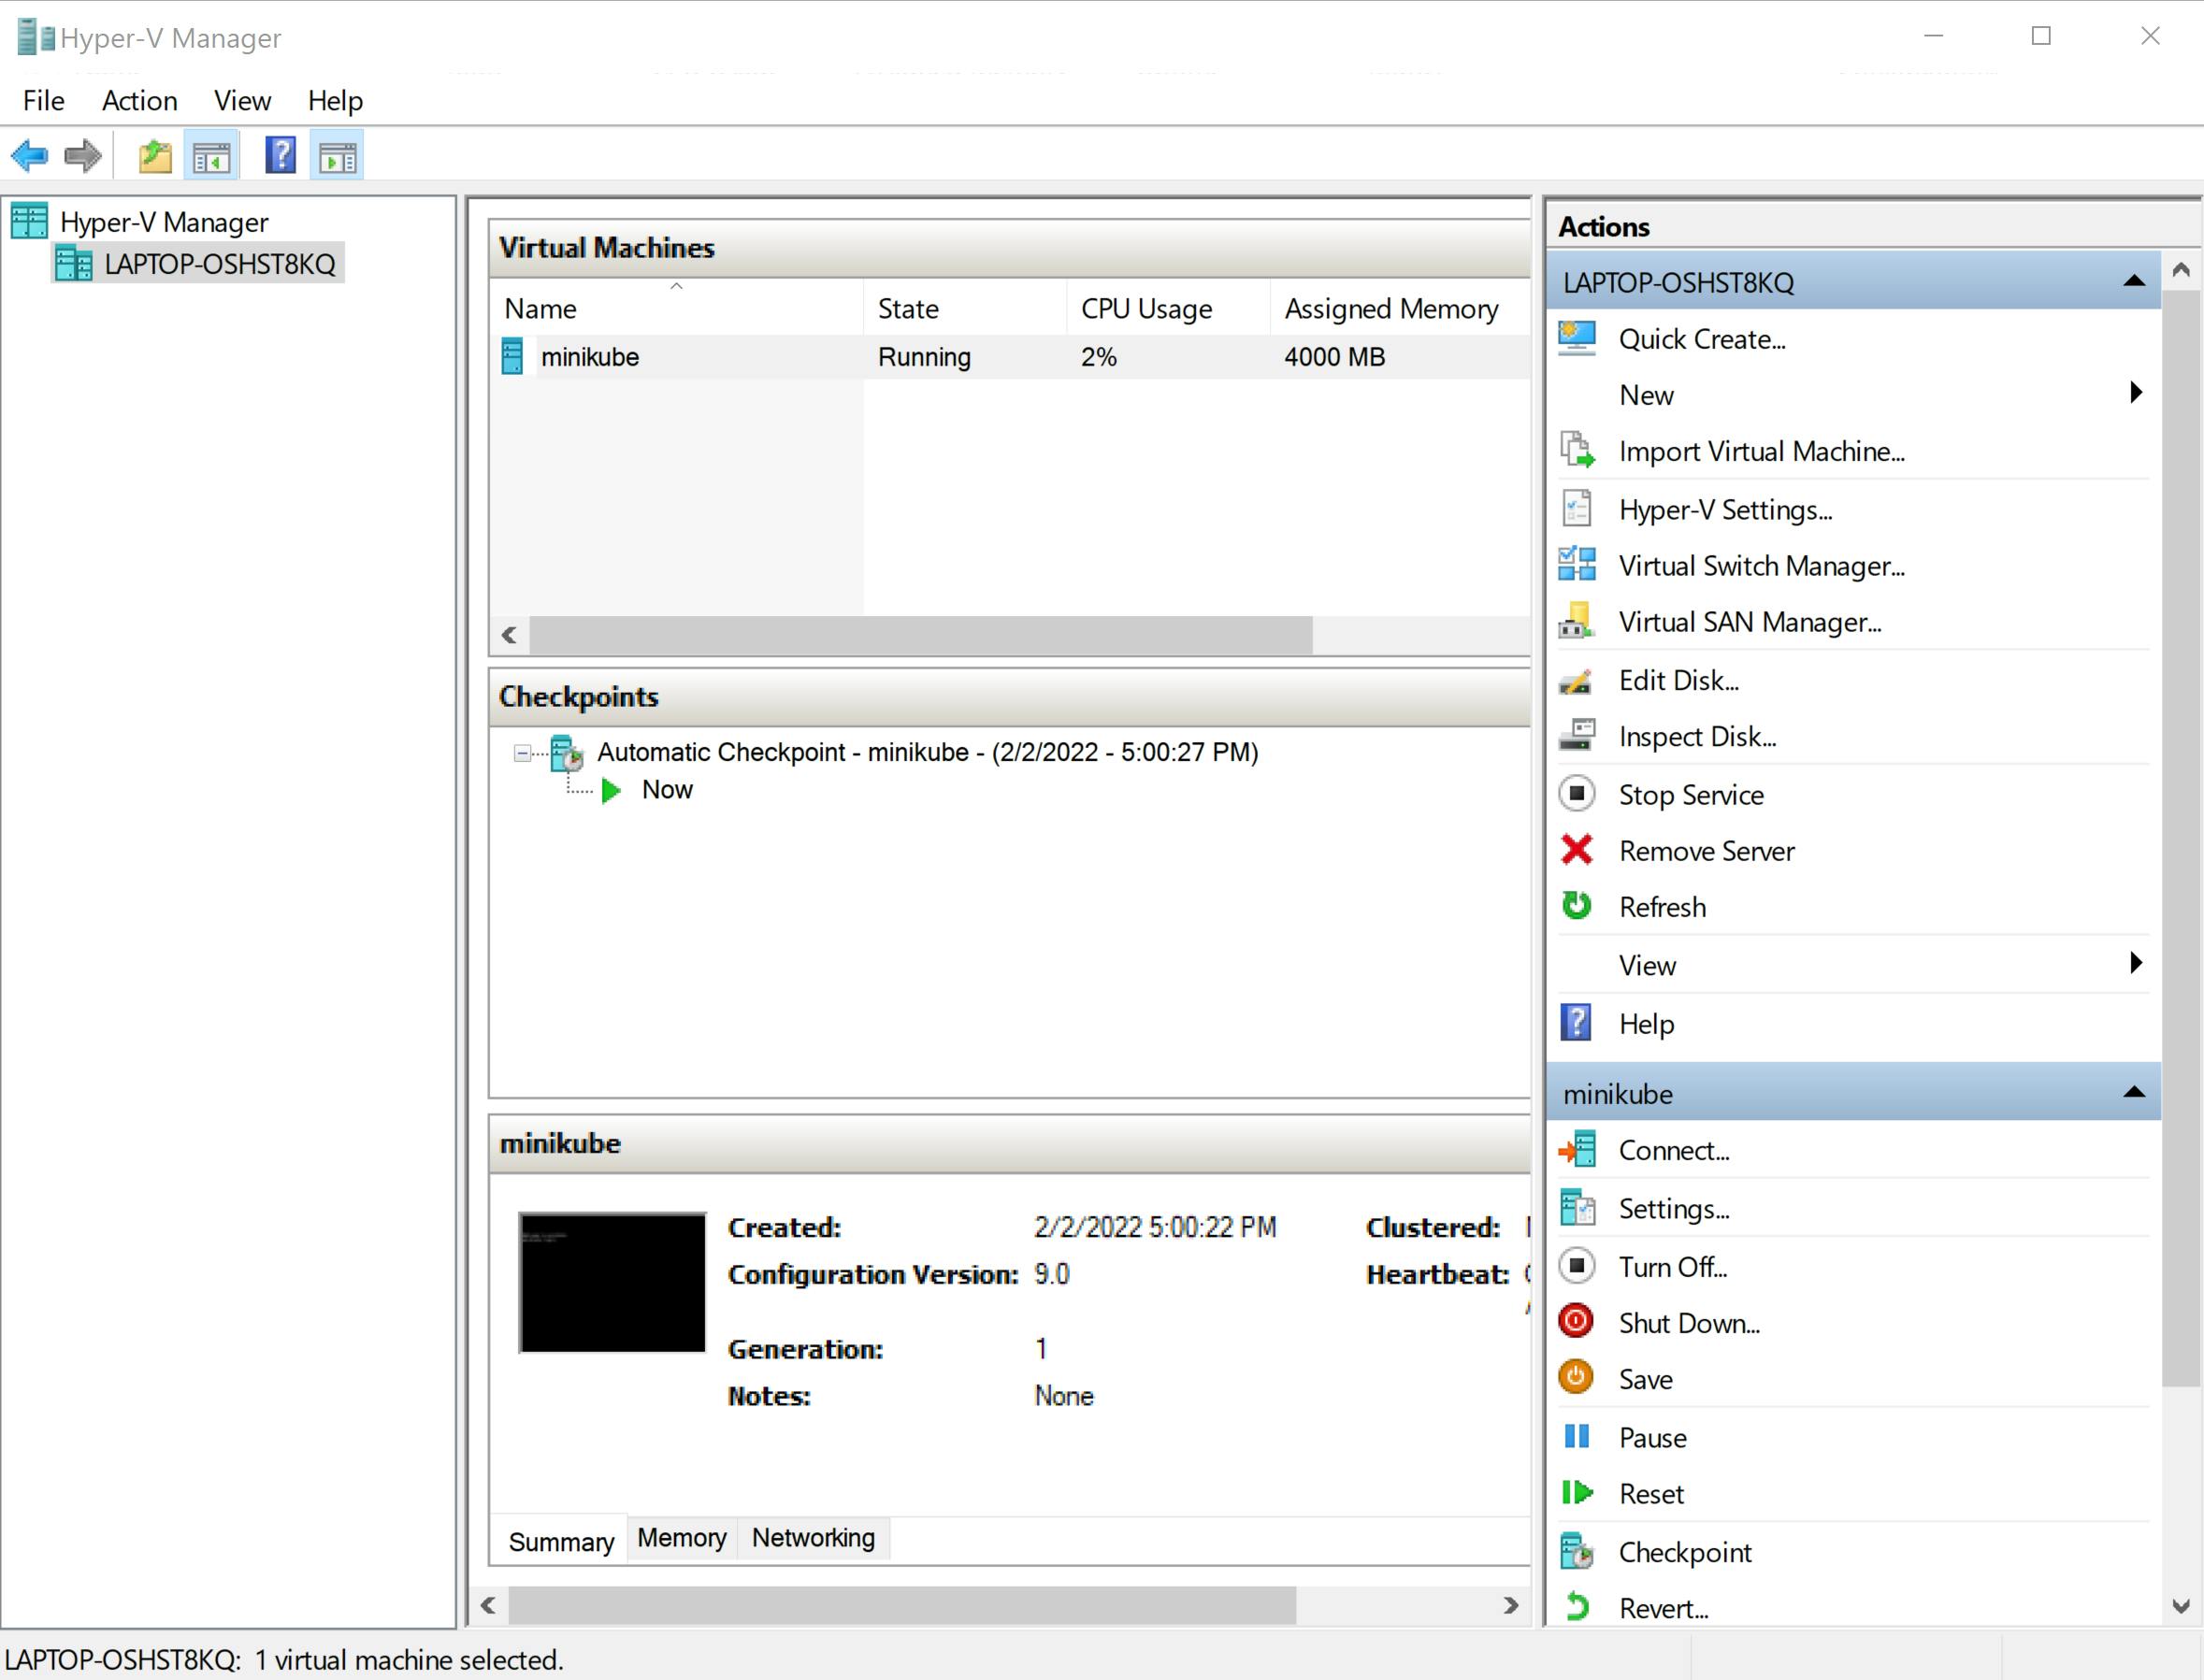
If you want to run your Kubernetes cluster on non-Docker platform (let's say virtual machine), you can pass --driver option to minikube start command. For instance, if you have Windows machine with Hyper-V enabled, you can run below command, which will actually create and run a virtual machine (with Kubernetes already installed in it) on Hyper-V and that virtual machine (VM) will be managed as node by Kubernetes. Kubernetes core services (system pods) and workload / application pods will be deployed in that VM.
minikube start --driver=hyperv
Here is the output of above command on my Windows machine.
PS C:\WINDOWS\system32> minikube start --driver=hyperv
* minikube v1.25.1 on Microsoft Windows 10 Pro 10.0.19043 Build 19043
* Using the hyperv driver based on user configuration
* Starting control plane node minikube in cluster minikube
* Creating hyperv VM (CPUs=2, Memory=4000MB, Disk=20000MB) ...
* Preparing Kubernetes v1.23.1 on Docker 20.10.12 ...
  - kubelet.housekeeping-interval=5m
  - Generating certificates and keys ...
  - Booting up control plane ...
  - Configuring RBAC rules ...
* Verifying Kubernetes components...
  - Using image gcr.io/k8s-minikube/storage-provisioner:v5
* Enabled addons: storage-provisioner, default-storageclass
* Done! kubectl is now configured to use "minikube" cluster and "default" namespace by default
PS C:\WINDOWS\system32>
Note, there is a line Using the hyperv driver based on user configuration in above output message, which tells us that this time minikube used Hyper-V (not Docker) to create the Kubernetes node. Once the VM starts on Hyper-V, you can even see that in your Hyper-V manager application. Below is what I see on my Hyper-V manager.
Build custom web application, that we will deploy later using Kubernetes.
Before we do anything else, let us create our basic custom NodeJS containerized app that we will deploy later on Kubernetes node for demo purpose.
Create a directory with name k8s-demo-web-app and make that your current directory. In this folder initialize the project with command npm init -y. It will create the package.json file in the current directory in which we can specify our project related details like name, version, scripts, dependencies etc. You need to have npm installed on your machine for this to work. npm (Node Package Manager) gets installed when you install nodejs (JavaScript run time). To install NodeJS and npm, refer NodeJS's official website.
Now let us install dependent library / module with name express using npm. Run below command when you are in k8s-demo-web-app directory. --save is to tell npm to add express package as dependency in package.json.
npm install express --save
Because of --save option, above command will add express package as a dependency in package.json. After this the package.json should look like this.
{
  "name": "k8s-demo-web-app",
  "version": "1.0.0",
  "description": "",
  "main": "index.js",
  "scripts": {
    "start": "node index.mjs"
  },
  "keywords": [],
  "author": "",
  "license": "ISC",
  "dependencies": {
    "express": "^4.17.2"
  }
}
Now create the index.mjs file under k8s-demo-web-app folder with below contents. index.mjs is the main file for our application that will actually start and express server app on 3000 port and will wait for client's requests to come in. Whenever the client request is done to the root (/) endpoint, the server will respond with standard hello message, having hostname of server printed as part of that message.
import express from 'express'
import os from 'os'

const app = express()
const PORT = 3000

app.get("/", (req, res) => {
  const helloMessage = `I am one of the pods. My hostname is "${os.hostname()}"`
  console.log(helloMessage)
  res.send(helloMessage)
})

app.listen(PORT, () => {
  console.log(`Web server is listening at port ${PORT}`)
})
Now let's create a Dockerfile under k8s-demo-web-app folder itself. Dockerfile is a special file for Docker. It contains instructions for Docker runtime engine to build docker images, deploy and run docker containers. Paste below code in Dockerfile.
FROM node:alpine

WORKDIR /app

EXPOSE 3000

COPY package.json package-lock.json ./

RUN npm install

COPY index.mjs ./

CMD ["npm", "start"]
Below is the explanation of each of the lines in the Dockerfile.
FROM node:alpineinstruction tells docker to build this app image based onnode:alpinedocker image, which can be found on dockerhub.WORKDIR /appinstruction tells which directory should be treated as the current directory on container's filesystem. Any further instruction having relative pathing will consider this as current directory. So this command in our Dockerfile tells that/appshould be treated as current directory within container's filesystem.EXPOSE 3000instruction tells docker to expose port 3000 to outside world so that the app can be accessed from outside the container on port 3000.COPY package.json package-lock.json ./instruction tells to simply copy these two files from app folder on local machine filesystem to current directory of container filesystem, which is already set to WORKDIR (/app) on 2nd line in Dockerfile.RUN npm installinstruction tells Docker to install required packages as perpackage.jsonwithin container current working directory, which is WORKDIR (/app). This will create/app/node_modulesfolder on container filesystem and will installed all required packages (dependencies) under it.COPY index.mjs ./instruction copies the app main file to current working directory (/app) in container. After this point, our app has everything installed in container to run it in isolation within container.CMD ["npm", "start"]instruction tells Docker, what command to run as an initial command within container when Docker container boots. This command is used to hand over the control to application that we want to run within the container. In this case, the command will benpm start. This will actually start the NodeJS app server on port3000. You can see in the contents ofpackage.json, hownpm startactually starts the NodeJS server.
Now we need to create a Docker image using instructions defined in Dockerfile. To create a Docker image, run below command from app folder (k8s-demo-web-app) that have Dockerfile in it. Docker will go through each of the instructions given in Dockerfile and will execute those in given sequence, except the CMD instruction, which actually is used when we start the docker image and not at the time of building the docker image.
docker build . -t {your dockerhub username}/k8s-demo-web-app
This will create a Docker image with tag name (note -t option) {your dockerhub username}/k8s-demo-web-app on your local machine. {your docker username} is just a placeholder, you should replace that with your actual dockerhub username. If you do not have dockerhub account, please do create that at DockerHub website. When you run this command, you will see below output on your command prompt. This is what I saw when I built an application docker image.
$ docker build . -t gauravdhiman05/k8s-demo-web-app
[+] Building 19.0s (11/11) FINISHED
 => [internal] load build definition from Dockerfile                                                                                                                       0.1s
 => => transferring dockerfile: 184B                                                                                                                                       0.0s
 => [internal] load .dockerignore                                                                                                                                          0.1s
 => => transferring context: 2B                                                                                                                                            0.0s
 => [internal] load metadata for docker.io/library/node:alpine                                                                                                             4.5s
 => [auth] library/node:pull token for registry-1.docker.io                                                                                                                0.0s
 => [internal] load build context                                                                                                                                          0.5s
 => => transferring context: 33.75kB                                                                                                                                       0.4s
 => [1/5] FROM docker.io/library/node:alpine@sha256:6f8ae702a7609f6f18d81ac72998e5d6f5d0ace9a13b866318c76340c6d986b2                                                       9.5s
 => => resolve docker.io/library/node:alpine@sha256:6f8ae702a7609f6f18d81ac72998e5d6f5d0ace9a13b866318c76340c6d986b2                                                       0.0s
 => => sha256:6f8ae702a7609f6f18d81ac72998e5d6f5d0ace9a13b866318c76340c6d986b2 1.43kB / 1.43kB                                                                             0.0s
 => => sha256:44b4db12ba2899f92786aa7e98782eb6430e81d92488c59144a567853185c2bb 1.16kB / 1.16kB                                                                             0.0s
 => => sha256:025c3cbb849f9921e64d646a978493a1642a4321b0d6d4b3de56e94ea2098df2 6.53kB / 6.53kB                                                                             0.0s
 => => sha256:59bf1c3509f33515622619af21ed55bbe26d24913cedbca106468a5fb37a50c3 2.82MB / 2.82MB                                                                             1.2s
 => => sha256:66fcb0eb5bed903c874a3964ce2c77ec1a65fa480e7544e676693729f64b13f7 46.11MB / 46.11MB                                                                           4.9s
 => => sha256:564b5778c99cb5849e09c42ef3caa8f07fb10f988e0cc97366bdca05a90a580a 2.34MB / 2.34MB                                                                             1.1s
 => => sha256:596dbe9943aea7c82144d35771b43cd6be615fe0aff4b082c603172be957f8a3 455B / 455B                                                                                 1.3s
 => => extracting sha256:59bf1c3509f33515622619af21ed55bbe26d24913cedbca106468a5fb37a50c3                                                                                  1.0s
 => => extracting sha256:66fcb0eb5bed903c874a3964ce2c77ec1a65fa480e7544e676693729f64b13f7                                                                                  3.7s
 => => extracting sha256:564b5778c99cb5849e09c42ef3caa8f07fb10f988e0cc97366bdca05a90a580a                                                                                  0.2s
 => => extracting sha256:596dbe9943aea7c82144d35771b43cd6be615fe0aff4b082c603172be957f8a3                                                                                  0.0s
 => [2/5] WORKDIR /app                                                                                                                                                     0.6s
 => [3/5] COPY package.json package-lock.json ./                                                                                                                           0.1s
 => [4/5] RUN npm install                                                                                                                                                  3.5s
 => [5/5] COPY . ./                                                                                                                                                        0.1s
 => exporting to image                                                                                                                                                     0.3s
 => => exporting layers                                                                                                                                                    0.3s
 => => writing image sha256:9dd8f6fba729201842f8861419cbba6e65fbf5a7c4b3f506aa99385d9f371b1b                                                                               0.0s
 => => naming to docker.io/gauravdhiman05/k8s-demo-web-app                                                                                                                 0.0s

Use 'docker scan' to run Snyk tests against images to find vulnerabilities and learn how to fix them
If you want, you can publish the image to dockerhub using below command for other Docker users to use it. Obviously for this, you first need to login to dockerhub using docker login command on command prompt. For our tutorial to work, we need to publish our application image to dockerhub or to any private docker repository. Kubernetes download and deploy application images from docker repository (either public or private). Let's publish our application docker image to dockerhub using below command.
# In place of `gauravdhiman05` use your docker username
$ docker push gauravdhiman05/k8s-demo-web-app
Using default tag: latest
The push refers to repository [docker.io/gauravdhiman05/k8s-demo-web-app]
ed6709c11c83: Pushed
b21599194e01: Pushed
c4f4155a1743: Pushed
57cd4446c3b6: Pushed
25c4d12b64e7: Mounted from library/node
1d454e07796f: Mounted from library/node
970073eeaee3: Mounted from library/node
8d3ac3489996: Mounted from library/node
latest: digest: sha256:eebcffacdaef7580072ccd47926252af8eb391258f47289c11b5292731d31dd6 size: 1992
$
Now as we have docker image published on dockerhub, we can use this docker image to deploy our custom app on our single node Kubernetes. Let's see how we do that in next section.
Manually deploying application on Kubernetes
To deploy an application, we need to create one or more pods on Kubernetes. To create a pod manually, you can run the command in below snippet. Normally this is not how we deploy applications on Kubernetes. We are doing it this way, just to have better understanding of what happens within Kubernetes when application gets deployed. Whenever application (workload) is deployed on Kubernetes, one or more pods get created on one or more nodes of Kubernetes automatically. In normal practice, the number of pods created is determined and dictated by application deployment teams using some configurations (YAML files) that we will look in later posts of this series.
> kubectl run demo-web-app --image=gauravdhiman05/k8s-demo-web-app
pod/pod created
>
In above command we are telling Kubernetes to create a single pod under default namespace with name demo-web-app, using Docker image gauravdhiman05/k8s-demo-web-app from dockerhub. After running above command, check if the pod is created and is running live on Kubernetes node or not.
# this command gets the summary of pods running on Kubernetes
> kubectl get pods
NAME           READY   STATUS    RESTARTS   AGE
demo-web-app   1/1     Running   0          13s
>
Above command output shows that there is a single pod that is running successfully, so that means our custom app is running in a container and that container is running under a pod named demo-web-app. As of now, we can not access this app from outside the cluster (say browser), as we have not yet defined some required items (service is a Kubernetes construct that we will talk about in later posts). We can still access and see the output of our app from within cluster. For that, we need to get into the Kubernetes node that is running our pod. To know which node is running our pod, you can run below command and note down the IP of Kubernetes node running our pod.
# `describe` sub-command gives detailed information, whereas `get` gives summary.
> kubectl describe pods demo-web-app
Name:         demo-web-app
Namespace:    default
Priority:     0
Node:         minikube/172.29.119.93
Start Time:   Thu, 03 Feb 2022 14:12:39 -0700
Labels:       run=demo-web-app
Annotations:  <none>
Status:       Running
IP:           172.17.0.3
...
...
...
Above output is the cut-down text of actual output. In this output the IP of node (VM) is 172.29.119.93 and the IP of pod is 172.17.0.3. IP of pod can also be determined by running below command, which gives little more information than standard get sub-command.
> kubectl get pod demo-web-app -o wide
NAME           READY   STATUS    RESTARTS   AGE   IP           NODE       NOMINATED NODE   READINESS GATES
demo-web-app   1/1     Running   0          25m   172.17.0.3   minikube   <none>           <none>
>
Once you get the IP of node, connect to that node (virtual machine in our case) using ssh or telnet. The single node created by minikube have a standard login credentials. It will always have a username as docker and password as tcuser. You can login to VM using these credentials. In my case, the IP of the Kubernetes node was 172.29.119.93 and below is how I logged into that VM.
> ssh docker@172.29.119.93
The authenticity of host '172.29.119.93 (172.29.119.93)' can't be established.
ECDSA key fingerprint is SHA256:UZ0lh0orRoYIuOQoXRTeRLG0wlmotw94VXr8rYAJhS0.
Are you sure you want to continue connecting (yes/no/[fingerprint])? yes
Warning: Permanently added '172.29.119.93' (ECDSA) to the list of known hosts.
docker@172.29.119.93's password:
                         _             _
            _         _ ( )           ( )
  ___ ___  (_)  ___  (_)| |/')  _   _ | |_      __
/' _ ` _ `\| |/' _ `\| || , <  ( ) ( )| '_`\  /'__`\
| ( ) ( ) || || ( ) || || |\`\ | (_) || |_) )(  ___/
(_) (_) (_)(_)(_) (_)(_)(_) (_)`\___/'(_,__/'`\____)

$
Once you are in the VM that is running the pod with our app, you can run below curl command to hit the app endpoint. Note, the IP in below command is of pod that is running your application. The IP is same that you must have noted when you ran kubectl get pod demo-web-app -o wide command earlier.
# IP in curl command is the IP of pod which we want to hit.
$ curl 172.17.0.3:3000
I am one of the pods. My hostname is "demo-web-app"
$
In the output above, you can see the application is printing the string I am one of the pods. My hostname is "demo-web-app", so this shows that application is running successfully under one pod, but the problem is we can not access it from outside the cluster (browser) which in practical scenario would be required for any web application or an API backend. We also need to make this single pod deployment scalable to handle spikes in traffic. For that, we will see how we can use deployment construct in Kubenetes to scale-out or scale-in. Let's also see in one of the later posts of this series, how we can expose our application (workload) to outside cluster using service construct in Kubernetes.
That's it for this post. I hope you liked reading this post and learnt something new through this. Stay tuned for my next post in this series of posts related to Kubernetes.